Your dental handpiece is a vital precision instrument in restorative dentistry, directly impacting patient comfort and outcomes. Protect your investment from premature failure and infection risks with a consistent daily regimen of cleaning, lubrication, and sterilization.
I. The Three Pillars of Handpiece Maintenance
To keep your handpiece in top condition, focus on three fundamental practices. Every dental professional should master these core principles.
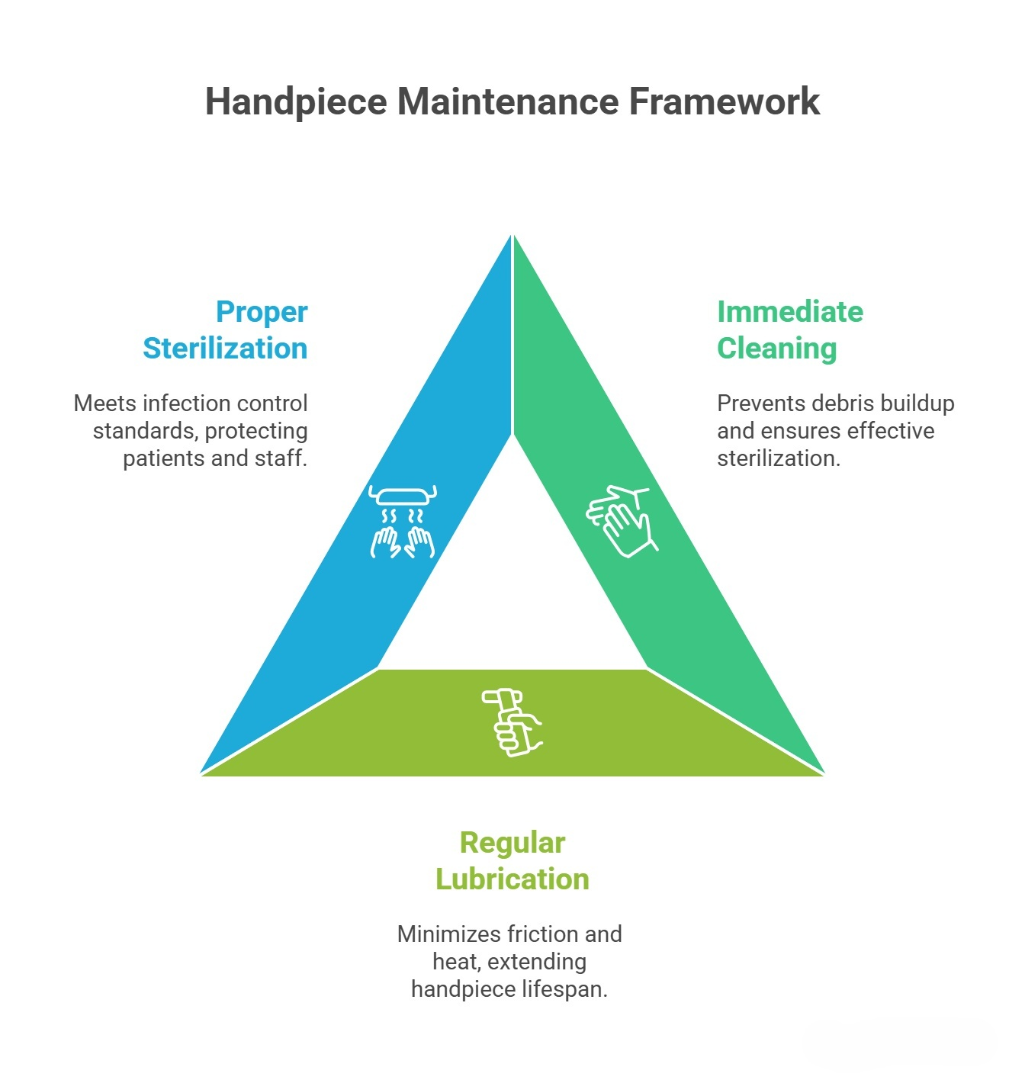
1. Clean Immediately After Use
Purpose: Stop saliva, blood, and other biodebris from drying and building up inside the tool. Such buildup frequently damages internal parts and undercuts sterilization effectiveness. Cleaning right after use is absolutely essential.
2. Regular and Proper Lubrication
Purpose: Safeguard sensitive bearings and the chuck assembly. Proper lubrication minimizes harmful friction and heat, promotes smooth handpiece function, and helps your micromotor tool last longer.
3. Proper Sterilization Procedure
Purpose: Meet the highest infection control standards by sterilizing exactly as directed by the manufacturer and accepted guidelines. This step protects the safety of patients and clinical staff alike.
II. Handpiece Maintain Detailed Operations
Sticking to a clear, ordered process for dental handpiece maintenance offers the best protection for your device.
1. Immediate Cleaning After Use
Aim to eliminate all visible and internal contaminants before they dry.
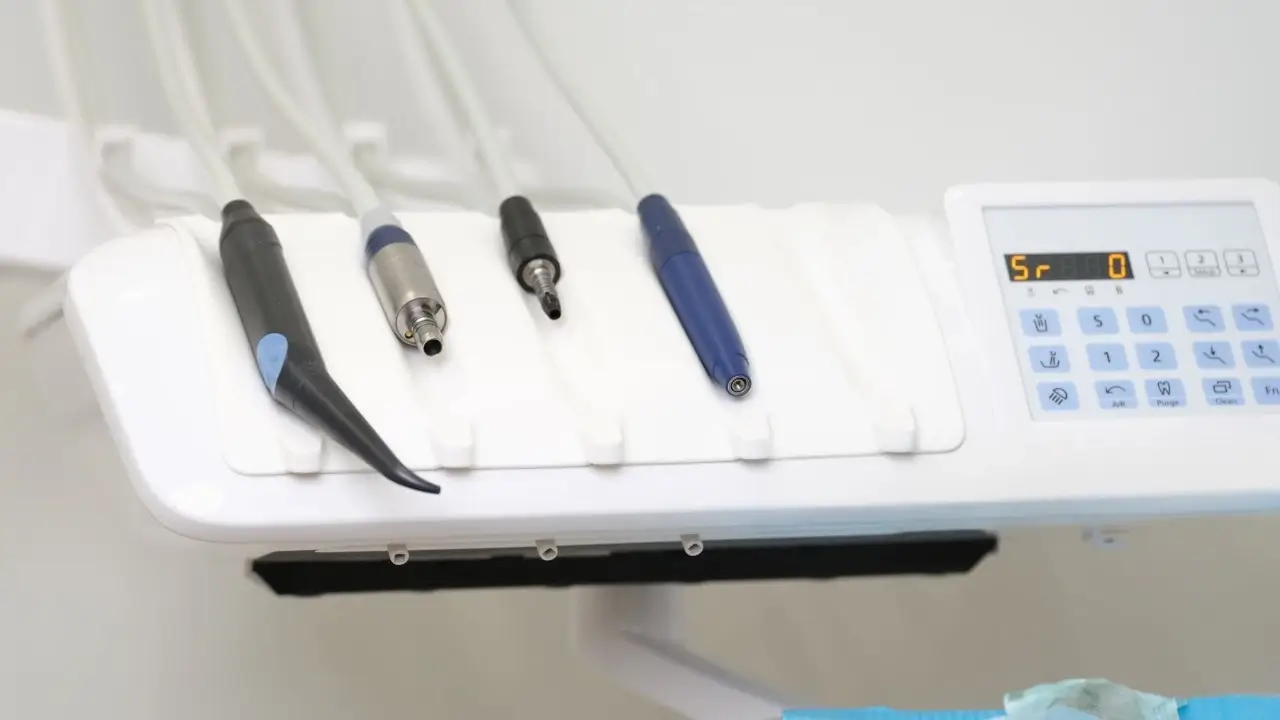
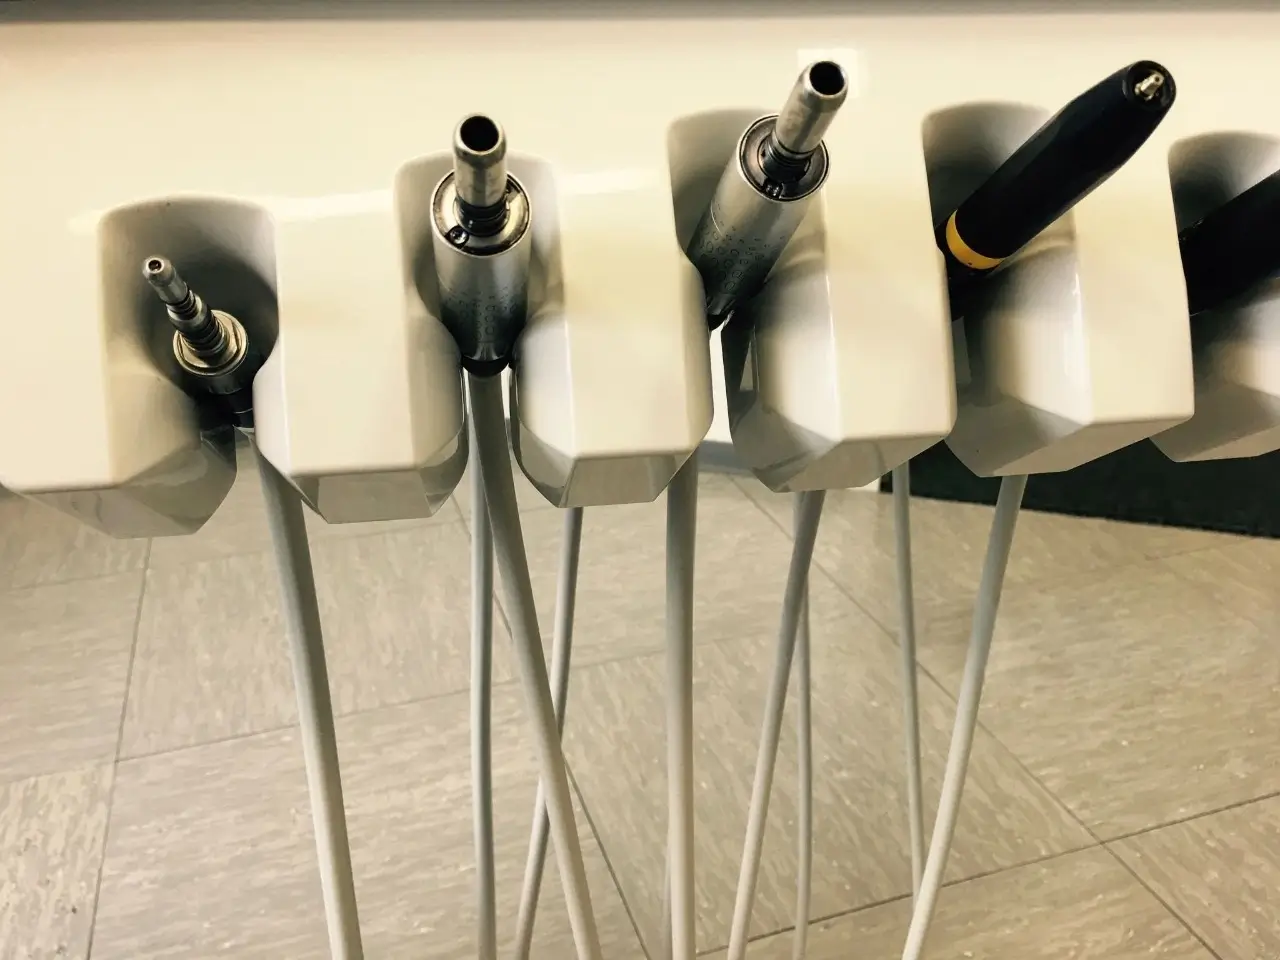
- Immediate Flush: Once the bur is removed, operate the handpiece on the delivery unit for 20–30 seconds. This crucial action clears leftover water and air from internal passages where bacteria might grow or corrosion could start.
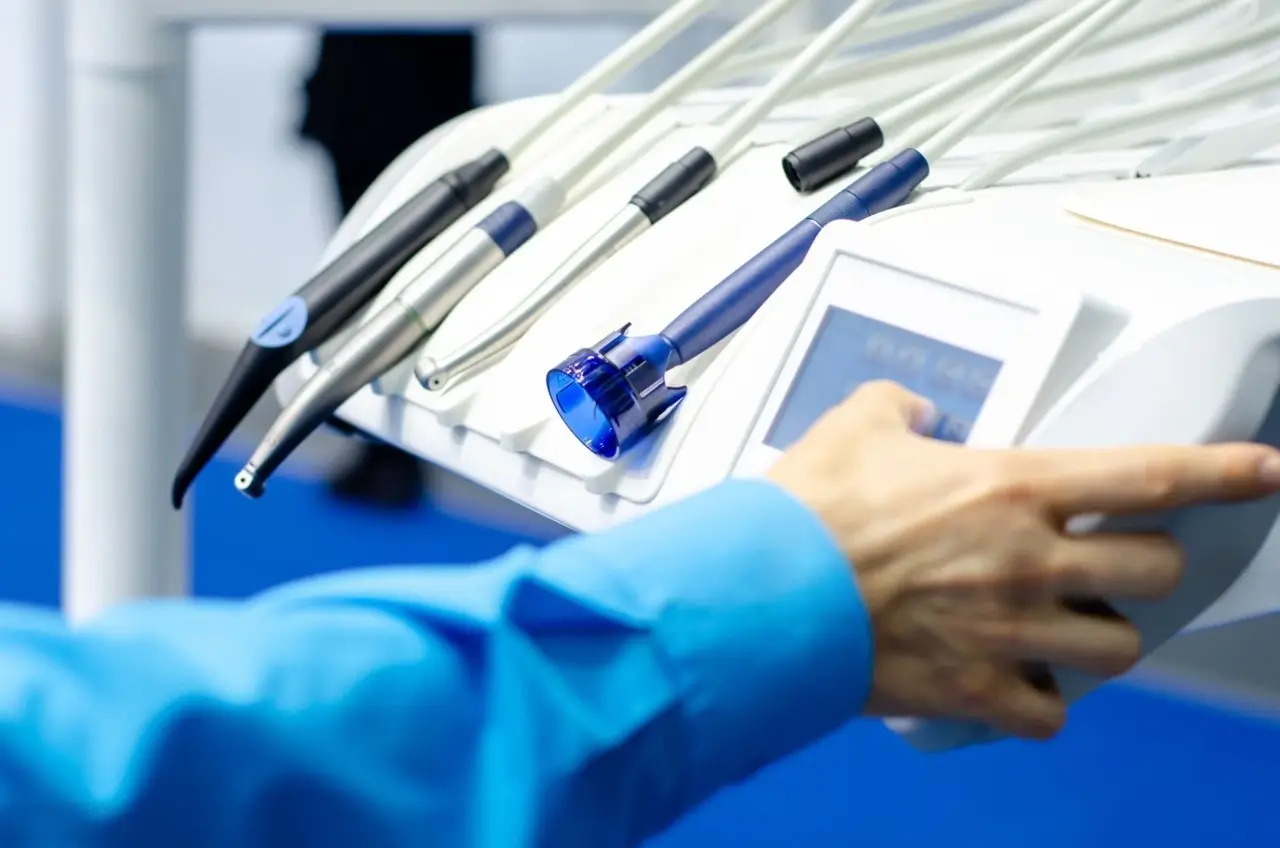
- External Wipe-Down: Disconnect the full micromotor handpiece. Carefully wipe all outer surfaces with a soft cloth or brush dampened with neutral detergent or an approved alcohol-based wipe.
- Important Warning: Do not submerge the handpiece in water, disinfectants, or an ultrasonic cleaning bath. Immersion can quickly harm the internal electronics and mechanical parts of your handpiece.
- Fiber Optic Cleaning: If your dental micromotor includes fiber optics, wipe the light surface gently with an alcohol-moistened cotton swab. This stops oil and debris from blocking light output.
2. Regular and Proper Lubrication
Think of lubrication as the vital life source for your handpiece’s inner workings.
- Lubrication Timing: Always lubricate after each patient use and again right before sterilization. Check the handpiece manufacturer’s instructions to confirm lubricant compatibility.
- Lubrication Methods (Manual vs. Automatic):
- Manual: Fix the appropriate nozzle onto your suggested lubricant can. Put the nozzle into the back port (usually the E-Type connector) and spray until fresh lubricant emerges at the front.
- Automatic: Consider using a specialized dental handpiece maintenance unit. These devices deliver accurate amounts and spread lubricant uniformly to all key internal areas.
- Purging Excess Oil: Don’t skip this task. After lubricating, connect the handpiece to the motor and operate it for 20–30 seconds, or set it on a special oil drainage station.
- Reason: Excess lubricant exposed to autoclave heat can turn into a gummy deposit inside bearings, impairing function. Purging clears out this surplus, maintaining just a thin protective layer.
- Chuck Maintenance (Weekly): The bur chuck holds the bur securely. To keep bur retention strong and changes smooth, place 1–2 drops of oil straight into the chuck opening weekly, then brush the area to clear away debris.
3. Proper Sterilization Procedure
Sterilization relies on high heat and steam, so careful preparation is necessary to avoid harm.
- Preparation Before Sterilization:
- Take out the bur.
- Lubricate (as described earlier).
- Separate Attachments: With systems, you usually must detach the contra-angle or straight head from the motor body. Generally, the motor and attachment are packaged and sterilized individually..
- Packaging: Put every part by itself into an FDA-accepted, high-grade autoclave bag to avoid cross-contamination and surface damage.
- Autoclaving:
- Choose a manufacturer-approved autoclave, ideally a pre-vacuum (Class B) model, which allows steam to penetrate more effectively.
- Temperature/Time: Follow the manufacturer's guide exactly. Usually, sterilization temperature should stay at or below 135°C.
- Post-sterilization:
- Dry Thoroughly: Never skip the autoclave’s drying cycle—allow a minimum of 30 minutes. Internal dampness speeds up corrosion.
- Cooling: Let the handpiece cool down naturally to room temperature inside the sealed autoclave bag. Do not run cool water over the dental handpiece; sudden temperature changes can create tiny cracks and stress the bearings.
III. Handpiece Continuous Monitoring & Warnings
Staying observant is your strongest tool for preventing device breakdown.
- Continuous Monitoring: Get into the routine of frequently assessing the handpiece’s operating noise, temperature, and vibration levels.
- Warning Signs: Listen for louder operation, feel for high resistance when turning the bur by hand, or notice unusual heat. These often point to bearing issues or inadequate lubrication. Address such signs quickly with repair or professional service to avoid major failure.
- Operating Guidelines: Don’t overload the handpiece or run your micromotor tool past its stated limits. Steer clear of extended non-stop use and give the handpiece ample rest between appointments to cool down.
- Follow the Manual: Although this article offers reliable general advice, your handpiece manufacturer’s maintenance guide remains the ultimate authority for your specific model.
Keeping a steady maintenance routine for your dental handpieces does more than prolong their service life—it represents a smart commitment to your practice’s productivity, financial stability, and dedication to patient safety.
For performance that matches your high maintenance standards, consider RHJC as your trusted source for premium electric handpieces and accessories.